Quick Start
This guide walks you through creating a project, starting an agent, and running your first session.
Step 1: Create a Project
- Click the + button at the end of the project tab bar in the top navigation
- Browse to and select a directory on your filesystem
- Enter a name for your project
- Click Create — the project is now selected
Step 2: Start an Agent
- Click the gear icon in the top-right to open Settings
- Go to the Agents section
- Find an agent you want to use and toggle it on
- Wait for the agent to download (if needed) and start — its status will change to Running
- Close the Settings panel
Step 3: Create a Session
- Click New Session in the left sidebar
- Select your running agent (or persona) from the dropdown in the prompt toolbar
- The session is created and ready for prompts
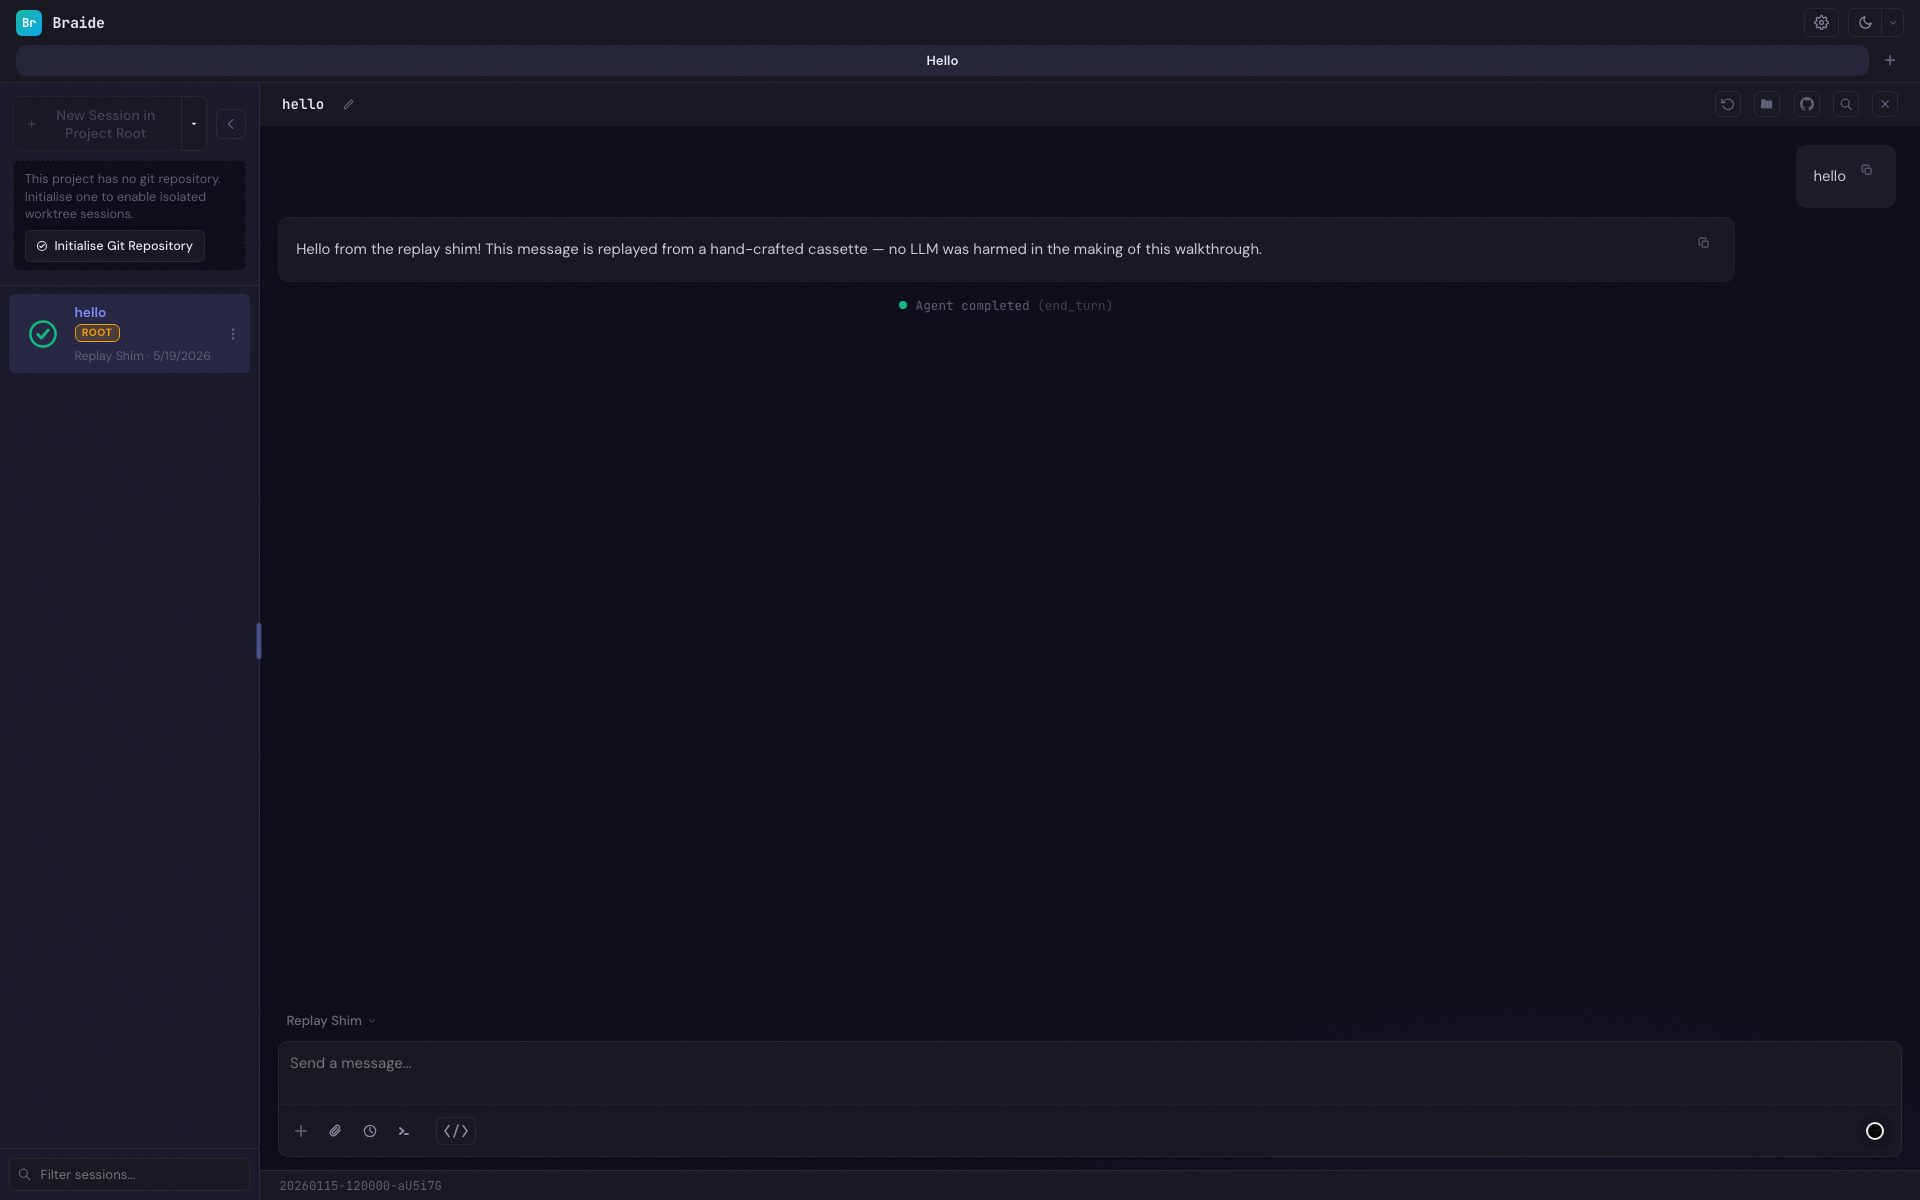
Step 4: Send a Prompt
- Type your prompt in the input area at the bottom
- Press Enter or click the send button
- Watch as the agent responds in real time — you'll see:
- Chat messages rendered as markdown
- Tool calls showing what the agent is executing
- Permission requests if the agent needs approval for certain actions
Step 5: Continue the Conversation
You can continue sending prompts in the same session. The agent maintains context from previous messages. To start a new conversation, create another session from the sidebar.
What's Next
- Learn about Projects and how they organize your work
- Understand Sessions and their lifecycle
- Set up GitHub Integration to attach issues or pull requests to sessions
- Explore the Terminal for command-line access alongside your agent